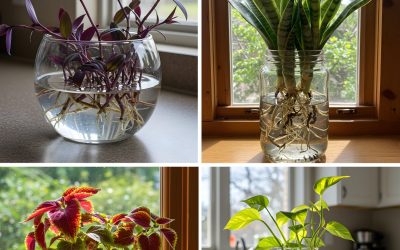
Step-by-Step: Growing Your Snake Plant in Water
Step 1: Select Your Cutting
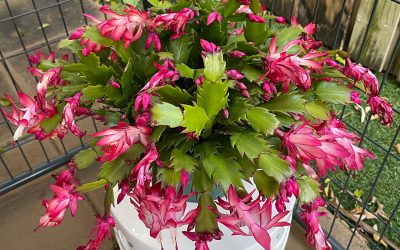
You choose a healthy, green leaf or a pup with its own root nub. Avoid any signs of rot or softness.
If cutting a leaf, slice at an angle and let the base air-dry for 24-48 hours. This allows it to callous over and prevents rotting in water.
Step 2: Set Up Your Jar
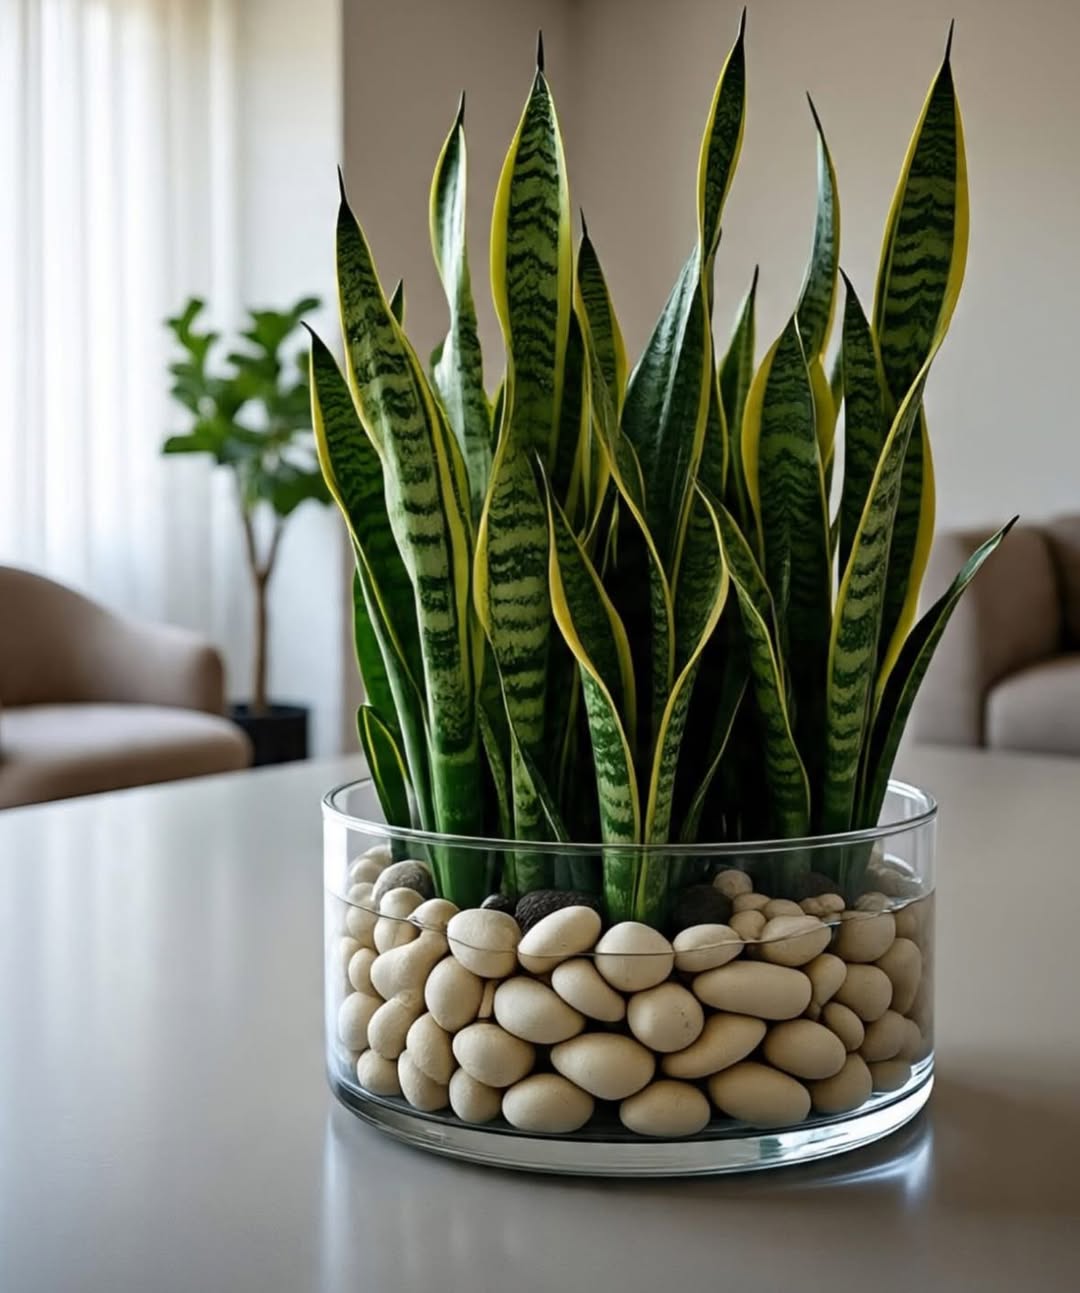
Place your clean stones or pebbles in the bottom of the glass jar. They’ll serve both as support and as a way to anchor the plant upright.
Step 3: Add Water
Pour in just enough water to touch the base of the cutting or the roots of your pup. You don’t want the leaf itself submerged, just the very bottom to prevent mushy rot and encourage healthy root development.
Step 4: Insert the Cutting
Nestle the base into the rocks so it stands upright. If your cutting keeps leaning, add more stones or switch to a narrower jar. That upright posture really helps prevent rotting where the leaf meets the water.
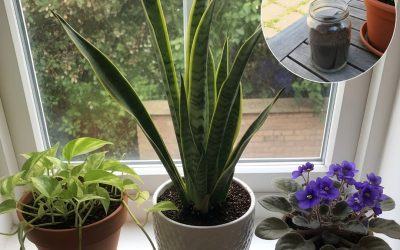
Step 5: Place in a Bright Spot
Now, you put the jar in a spot with bright, indirect sunlight. Too much sun can lead to algae in the water, while too little will slow root growth.

Step 6: Maintain and Refresh
You should change the water every 7-10 days, topping off with fresh, clean water. If you see algae on the glass or rocks, give everything a rinse.
Once roots appear (usually after 3-6 weeks), you can keep it in the water long-term or transfer it to soil if preferred.
Helpful Tips and Real-Life Lessons
When I first started growing snake plants in water, I wasn’t expecting much. I figured it was a fun experiment, but I assumed they’d eventually wilt or give up.
Turns out, I was completely wrong. One of my leaf cuttings sat in a sunny bathroom for nearly two years, growing long roots and even sprouting a baby offshoot without ever touching a speck of soil.